Avatar Hot Topics of Go Live - Week 1
Overview
Important information, revisions, and tips from the first week of Go Live in the Intellectual Disabilities Program.
Applicable Staff
All Avatar users.
Usage
Adding Clients to My Clients
This procedure is used to add clients to your My Clients section in the Home View. Clients added in this manner will remain there after you log out so you need not add them in each session. Open the Adding Clients to My Clients form and select the client you wish to add. In the next screen, search for your name (or your staff member’s name if completing this process on their behalf) and click Submit. The client will remain in the My Clients section of the widget until removed. For full details of using the form, please see this article. Using the My Clients Widget
Leave History Report
Shows all leaves that occurred in the specified date range
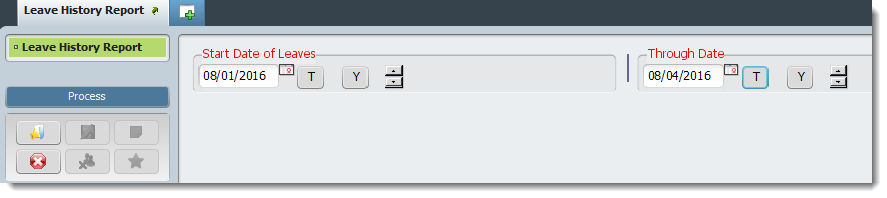
For full details of the report, please see this article. Leave History Report
IDS Progress Note Review Report
A report to display all progress notes created by specific date range and unit. Select the desired date range and as many units as desired. Click Process to create the report.

The report shows all notes by program, client, and episode. Click any blue hyperlink to display the entire note if desired.
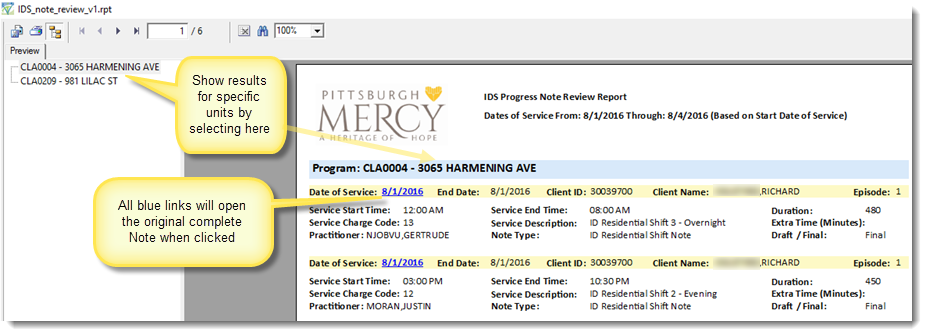
For full details of using the report, please see this article. IDS Progress Note
Draft to Final Note Completion
Full time staff will have 24 hours to return to all draft notes and complete them for the previous day. Casual staff that will not return for 24 hours or more will alert their designated supervisor/staff person, who will then return to the draft note(s) and complete them within 24 hours.
When saving a note as a Draft, it must always be Filed or all data will be lost. To access the draft, first open the Progress Note form, select the Client and Episode you wish to enter data for, then select the Draft note from the drop down titled "Select Draft Note to Edit".

When the note is complete and ready to be finalized, select Final and File Note. For complete instructions on using the IDS Progress Note, see this article. IDS Progress Note
Note Voiding Processes
Follow the HIM specified process for requesting deletion of a note. At a minimum, HIM must be given the following information:
Client ID #
Episode
Date of the Note (for Overnight notes that will be completed after 12 AM, please specify the census date that the note applies to (Overnight Shift Note filed on 8/2/16 for Day 8/1/16)
Staff Member that filed the note
For full details of the process, please see this article (COMING SOON!)
Leave Time Processes
Complete a Leave for any client who will not be in the residence. Complete a Return From Leave when the client returns. Record all times accurately in real time whenever possible. For full details of the Leave Process, please see this article. Leaves
Verifying Census
Supervisors/Directors will verify their unit’s census daily to verify the accuracy of all residential charges that will be billed. Open the Verify Unit Census form and select the "Current Census Crystal Report". Ensure all information is accurate then verify the census by selecting the date range and units you wish to verify. Other checked units for the date range may be present, and can be left checked unless you are reversing a previous verification be selecting No for the Census Verified Y/N function.
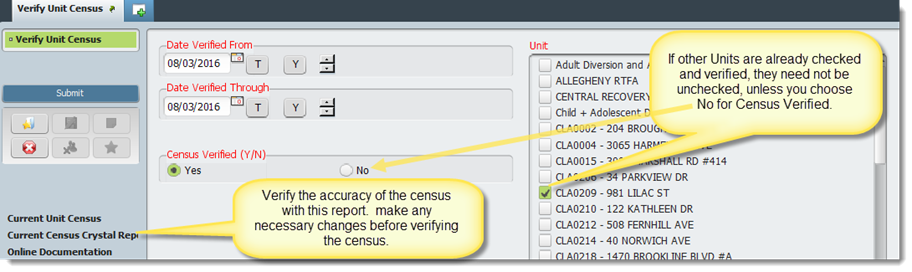
For complete details of verifying the unit census for residential programs, please see this article. Verify Census
Choosing Correct Episode of Care
Choosing the correct episode of care is crucial in nearly all forms. It will be displayed in several ways depending on the type of form:
 or
or
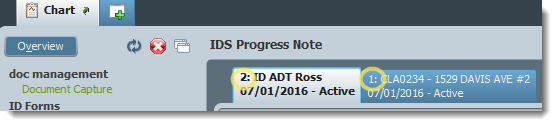 or
or

In all cases, selecting the correct episode is imperative to having a complete and accurate medical record. If you cannot find information or options pertinent to the service you are recording, please verify that the episode you are currently in is the correct one before submitting or finalizing a document. Many options in forms are displayed according to the episode.
Tips & FAQ
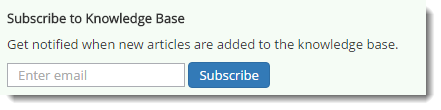
Please subscribe to the knowledge base to receive notifications of new and updated articles that you may find useful. Found at the bottom left of the front page: